
When a Finnish thrash band shirt splits under the arm, turn it inside out and check what gave way. If the thread broke but the cloth on both sides is intact, sew the seam back together. If the cotton tore beside the seam, reinforce it with a backing patch. Pulling torn edges together can tighten the sleeve and put the same strain on your new stitches.
A shirt bought at a local gig or a denim vest covered in band patches can be a personal record of the Finnish thrash scene. Before you mend either one, decide whether you want to keep wearing it or preserve it as it is. A loose patch corner on a vest you still wear is a good first repair. A tear through the print of a keepsake shirt calls for more care: stitching through the graphic changes how it looks, and even if you take the stitches out later, the needle can leave marks.
Check the damage and choose your tools
Lay the garment flat in good light and look at both sides. Move the cloth gently around the damaged spot rather than giving it a hard tug. Stitches need firm fabric to hold. If the cloth feels thin and pulls apart easily, look farther out for sound fabric before cutting a backing patch. For a split seam, check the matching seam on the other side of the garment to see where the original stitches ran.
- Needles: Use a fine hand-sewing needle for T-shirt jersey and a sturdy, sharp one for denim or a thick patch border. If the needle gets stuck, try a different spot rather than forcing it toward your fingers.
- Thread: All-purpose polyester thread works for most repairs on clothes you still wear. Match the shirt fabric for a discreet seam repair, or match the patch border when sewing a badge back down. On fine jersey, use a single strand to avoid a stiff ridge.
- Backing fabric: Choose a scrap with a similar weight and stretch to the garment. Wash it first if you plan to wash the garment after the repair. A stiff woven scrap behind stretchy jersey can shift the strain to the edge of the patch.
- Small tools: Sharp scissors, a few pins or sewing clips, and a thimble will cover most jobs. Use the thimble to push the eye end of the needle through denim without pressing it into your fingertip.
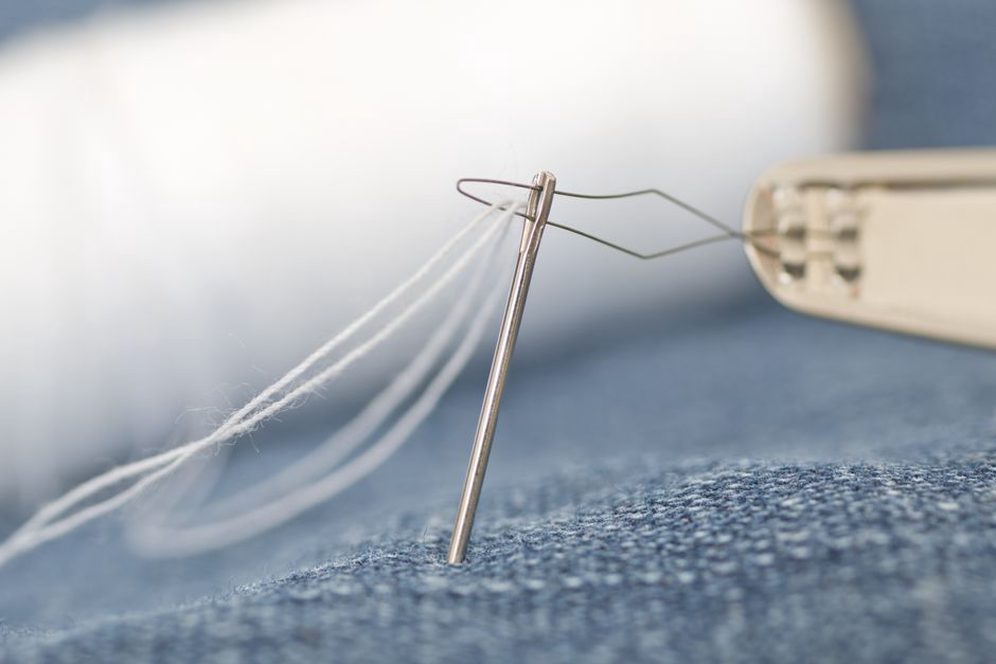
Start with about 40 centimetres of thread. A longer strand means less rethreading, but it tangles more easily and wears as you pull it through the cloth. If you're new to hand sewing, practise on a folded scrap until the stitches hold the layers together without leaving a groove or gathering the fabric.
Close an open shirt seam with backstitch
Backstitch forms a nearly continuous line on the side facing you as you sew. It suits a short split in a seam that doesn't need to stretch much. Use a repair that can stretch at a neckline, cuff, or any other seam that has to give when you pull the shirt on. A tight row of backstitches there can snap.
- Line up the seam. Turn the shirt inside out, bring the edges back into their original position, and pin or clip them together. Follow the old stitch line. If you sew too close to the raw edge, the fabric can pull free.
- Start where the seam still holds. Knot the thread and begin a few stitches before the split. Sew through both seam allowances, the strips of fabric that extend beyond the stitch line.
- Work backward to move forward. Bring the needle up through both layers. Put it back down a short stitch behind that point, then bring it up a short stitch ahead of where it first emerged. For the next stitch, go back down into the end of the previous stitch and come up ahead again. Keep the stitches small and even.
- Overlap and finish. Sew a few stitches past the split, onto the intact seam. On the inside of the shirt, slip the needle under a nearby stitch, then pass it through the loop you've made and tighten it. Repeat once and trim the thread.
Turn the shirt right side out and check that the seam lies flat. If you caught the body of the shirt or a fold of sleeve fabric in your stitching, undo that section and resew it. Tugging won't free fabric held by a stitch.
Support a hole without pulling the print out of shape
A patch on the inside of a band shirt can support a small hole without distorting the fabric around it. Cut the patch so it reaches sound cloth on every side, then round the corners so they're less likely to curl. Gently stretch the shirt and the scrap in each direction to see which way each gives most. Line up those directions, then lay both pieces flat without stretching them.
Slip a piece of cardboard inside the shirt so you don't pin the front to the back. Pin the backing in place and tack it down with a few long stitches you can remove later. Take out the pins and cardboard before you start the permanent stitching. With small stitches that don't pull the fabric tight, attach the shirt to the backing around the hole. Then stitch around the edge of the patch so it can't fold over in the wash. If the cloth between the hole and the patch edge is weak, add a few spaced rows of stitches to spread the strain. Leave the edges of the hole where they are: the backing bridges the gap.
If the tear crosses a logo or illustration, decide where needle marks would be least distracting. Thread that almost disappears on black cotton may be easy to see against pale ink. If you no longer plan to wear the shirt, leaving the tear unstitched and storing it flat may preserve more of the print than a repair would. If the print and label matter to your collection, photograph them before you start.
Reattach a patch corner on a denim vest
Check what's come loose: the stitches holding the patch on, the patch's own border, or the denim underneath. If the patch and denim are both sound, leave the patch where it is and sew down only the loose section. Snip stray bits of broken thread without cutting the embroidery. If the border is too dense to sew through easily, run your stitches just inside it.
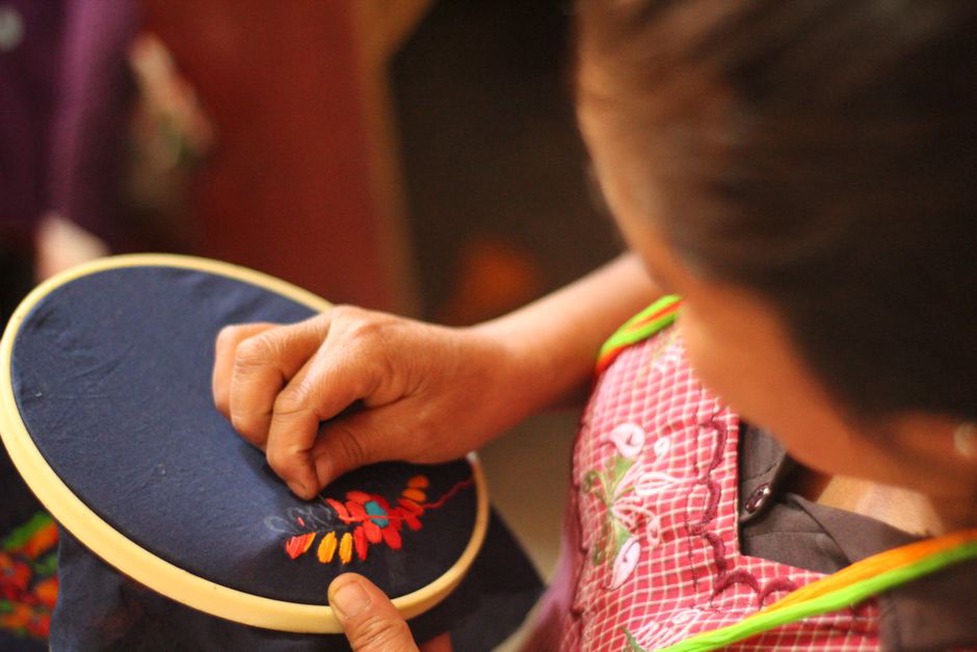
Start inside the vest, just before the loose section. Bring the needle up through the denim and patch, take a small stitch parallel to the border, then come up a little farther along. Put one stitch near the tip of the corner and another on the adjoining edge so the corner can't fold back between them. Finish just past the loose section, where the original stitching still holds. Pull the thread only tight enough to keep the patch flat without bunching the denim.
If the patch sits over a pocket, slip your hand inside first to find the layer you need to leave free. Move your hand out of the needle's path, then sew with the pocket open and check the inside every few stitches. After knotting the thread, slide a folded scrap of paper to the bottom of the pocket. If the paper catches, remove any stitch that crosses the opening or joins the pocket layers before you wear the vest.