
A concert shirt can lose its shape before its print fades if it spends every night on a narrow hanger. Folded in a drawer, it won’t hang by its shoulders. The same principle applies to the rest of a wardrobe: wash clothes when they need it, dry them in a way that suits the fabric, and catch a loose seam before it opens further.
Let clothes rest before deciding they need a wash
Washing removes sweat, dirt, and odors, but it also exposes fabric to friction, water, and detergent. A garment doesn’t need laundering just because you wore it once. After a short, low-activity outing, check for visible dirt, odor, and dampness. If it’s clean and dry, let it air before putting it away. This works especially well for jackets, overshirts, jeans, and outer layers worn over a clean shirt.
Airing won’t rescue sweaty clothes. Damp fabric left in a heap can develop stubborn odors, and stains are harder to remove later. Underwear, socks, close-fitting layers, and clothes worn during strenuous activity usually need washing more often. Judge each item by how it was worn and what condition it’s in, rather than following one schedule for everything.
Set aside a hook or open shelf for worn-but-clean clothes so they don’t end up in the laundry or get shut in a drawer while damp. Empty the pockets, too. A forgotten pen can mark a whole load; keys and coins can rub against fabric or knock around the washer drum.
Use the care label as a starting point
Read the label before washing an unfamiliar garment. Fiber content tells you what the fabric is made of, while care instructions may also account for dyes, coatings, trim, and construction. A screen-printed cotton shirt, for instance, may need gentler handling than an unprinted cotton towel.
When practical, sort by fabric weight as well as color. Heavy jeans, exposed zippers, and rough towels can rub against lightweight shirts and fine knits. Close zippers, fasten hook-and-loop closures, and turn printed shirts inside out. A mesh bag can keep small or delicate items from tangling, though it won’t make a garment safe for machine washing if its label says otherwise.
For lightly soiled clothes, use a gentle cycle if the label permits. Cooler water often works for everyday laundry and may help limit fading or shrinkage. Follow the label, though, and use a hotter setting when hygiene or stubborn dirt calls for it. Leave room in the drum for clothes to move and rinse. If they come out with detergent residue or still smell dirty, try a smaller load before adding more detergent.
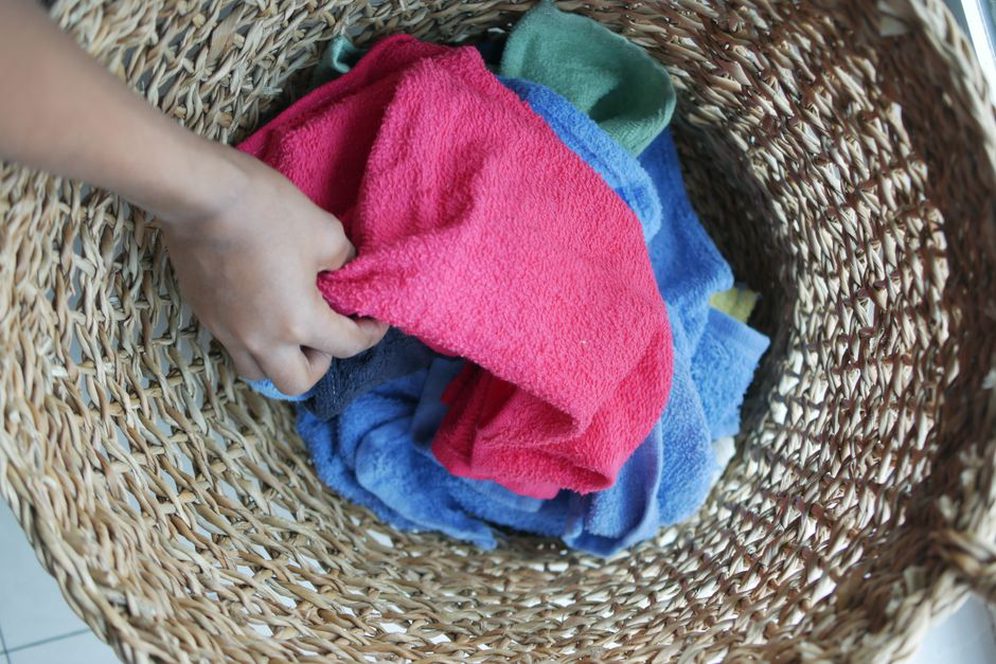
Measure detergent instead of guessing
More detergent doesn’t necessarily mean cleaner clothes. Excess can stay in the fabric, particularly in a large load or a machine that uses relatively little water. The result may feel stiff or look dull. Measure according to the product’s instructions, allowing for load size, soil level, machine type, and water hardness. Take particular care with concentrated detergent.
Fabric softener isn’t a necessary finishing step for every load. Its coating can affect the absorbency of towels and some performance fabrics. If clothes feel stiff, check for overloading or too much detergent, and consider whether they’re being washed more often than necessary.
Treat stains before heat sets them
When something spills, lift off the excess without grinding it into the fabric. Blot liquids with a clean cloth and gently scrape away thicker residue. Check the care label. If the dye or finish seems delicate, test a stain treatment in a hidden spot first. Work from the stain’s outer edge toward the center so it doesn’t spread.
Different marks need different approaches. Cool water is generally the safer first choice for blood and other protein-based stains; heat can make them harder to remove. For oil, gently work a little suitable liquid laundry detergent into the spot before washing. Vigorous scrubbing can damage the fibers even if the stain comes out.
Look at the garment before it goes in the dryer. Heat can make a remaining stain harder to shift. If the mark is still there, repeat a suitable treatment or air-dry the item while you decide what to try next. Delicate, embellished, or dry-clean-only clothes may be better left to a professional than subjected to repeated home treatments.
Dry with the fabric in mind
A tumble dryer is convenient, but heat and tumbling can contribute to shrinkage, fading, and wear. When you have the space and conditions, air-drying is gentler on many everyday garments. Shake out shirts before hanging them to ease deep creases, and spread items apart so air can circulate. Damp clothes bunched on a rack will dry slowly.
Support each garment according to its weight. A woven shirt may dry well on a properly shaped hanger. A heavy wet sweater can stretch at the shoulders, so reshape it and lay it flat on a clean, dry surface. Keep dyed clothes out of strong direct sunlight for long stretches if fading is a concern. Indoors, allow for ventilation rather than crowding clothes into a space where moisture lingers.
If you use a dryer, choose a setting allowed by the label, avoid excessive heat, and take clothes out when they’re dry instead of running repeated cycles. Clean the lint filter as the machine manufacturer directs; a blocked filter restricts airflow. Printed shirts and elasticated garments often do better air-dried, especially when their labels advise against tumble drying.
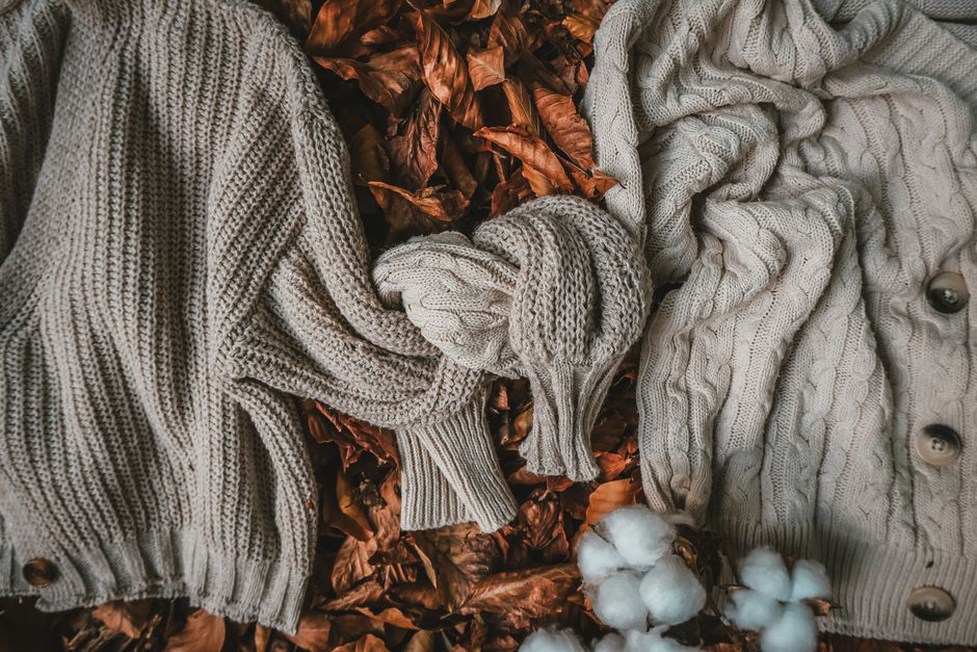
Store clothes so they keep their shape
A hanger can support a garment or slowly distort it. Fold heavy knits, sweatshirts, and printed T-shirts for long-term storage. For jackets and woven shirts, use hangers wide enough to support the shoulders; thin wire ones can leave bumps. Don’t pack the closet so tightly that everything stays crushed together.
Put clothes away only when they’re fully dry and reasonably clean. Body oils and food traces can attract pests or become more noticeable after months in storage. For seasonal clothes, choose clean, dry containers or breathable covers suited to the space. Check storage areas periodically, particularly if moths or dampness have been a problem. A musty smell calls for a moisture check, not just fragrance.
For a trip, fold a show shirt or jacket around softer items instead of forcing it into an overfilled bag. Keep shoes, sharp accessories, and toiletries that might leak away from the fabric. It’s sensible for any clothes, but especially for merchandise with prints or patches that would be hard to replace.
Fix small problems while they are still small
A loose button, dropped hem, or opening seam is easier to deal with before it gets worse. Keep a needle, suitable thread, spare buttons, and small scissors together so a quick fix doesn’t become a postponed project. Label the spare button that comes with a new garment so you know where it belongs. Before sewing, check that the surrounding fabric is strong enough to hold the repair.
For a loose button, choose thread close to the original color and sew through the existing holes without pulling the fabric into a pucker. For an open seam, line up the original edges, stitch along the seam line, and secure the thread at both ends. If the fabric itself is thinning or tearing, sewing only the split can put strain beside the new stitches. A patch or reinforcement may hold better.
Be careful with snags. Cutting a pulled loop on a knit can turn it into a hole. If you can, ease the loop to the inside with a blunt needle or snag-repair tool, then gently even out the tension in the surrounding stitches. Expensive outerwear, specialized fabrics, and complicated linings may be better handled by a tailor.
Reduce friction where wear starts
Notice where your own clothes wear first: the inner thighs of trousers, elbows, cuffs, places a bag rubs, or the edges of a favorite jacket. Some friction is unavoidable. A rough bag strap, though, can scrape the same shoulder every day. Overfilled pockets strain seams, while damaged shoe linings can wear through socks quickly.
Fit makes a difference, too. Trousers pulled tight across the seat or thighs put more stress on their seams, and hems that drag on the ground pick up dirt and fray. A hem adjustment or a better-fitting size may help more than a different detergent. Rotate frequently worn pieces when you can, giving each time to dry fully and recover its shape.
Handle prints, patches, and embellishments gently
On a band shirt, the design may matter as much to its owner as the fabric. Turn printed shirts inside out to reduce abrasion, keep them away from rough hardware in the wash, and follow the label’s heat guidance. Don’t iron directly over a print unless the instructions expressly allow it; high heat can affect some designs and adhesives.
Check patches and decorative stitching before washing. A lifting corner can catch on another garment and pull farther loose. Sew it down, or ask someone experienced with the material to do it. If a jacket is washable and has numerous pins, remove them first: metal can snag fabric, and the holes may widen under tension. A decorated jacket isn’t automatically machine-washable just because its plain base fabric would be.
Take extra care with vintage or irreplaceable pieces. If the label is missing, the dye seems unstable, or the fabric feels brittle, a routine machine wash could cause damage. Depending on the garment’s condition, airing, careful spot cleaning, or advice from a textile-care professional may be safer. Don’t try a strong cleaner on a treasured shirt merely because it worked on something newer.
Make the habits easy to repeat
You don’t need a separate routine for every piece of clothing. When you take something off, ask three questions: does it need washing now, what can safely share its load, and how should it dry? That quick check can also catch a stain, a forgotten item in a pocket, or a loose thread before the next wash.
- After wearing: Air clean items, separate sweaty ones, and check pockets.
- Before washing: Read unfamiliar labels, sort rough fabrics away from delicate ones, close fasteners, and treat stains.
- After washing: Check for remaining stains, dry according to the label, and reshape garments that need it.
- Before storage: Make sure everything is dry, fold items that stretch on hangers, and mend visible damage.
Keep a small repair kit near where you sort laundry. If a shirt comes out of the wash with a loose button, put both beside the kit instead of returning the shirt to the drawer. A few minutes with a needle now may save you from hunting for the button after its next wear.