Check your balcony’s light before buying plants. One that gets six hours of direct sun can support a different garden from one that stays shaded until late afternoon. Look at it around breakfast, midday, and late afternoon, noting shadows cast by the building above, the railing, and nearby trees. Those observations are more useful in your first season than a long shopping list.
1. Check the space before adding weight or water
Read your building’s rules first. A lease, housing association, or property manager may restrict railing planters, hanging baskets, drilling, or anything that drips onto a balcony below. Ask before attaching fixtures. A pot on the floor is usually simpler than one hanging over a public area, but it still needs a spot where strong wind won’t tip it.
Consider the load, too. Wet potting mix, containers, water reservoirs, and people all add weight. Don’t assume the balcony can hold large raised beds or heavy masonry planters. If you can’t confirm its load capacity, start with a few lightweight containers and consult the building owner or a qualified professional before adding anything substantial. Keep doors, drains, and emergency routes clear.
Plan for runoff. Pots need drainage, but water shouldn’t damage flooring, stain walls, or reach neighbors. Saucers catch ordinary drips; empty them after watering so roots aren’t left sitting in water. If there’s a floor drain, keep leaves and soil out of it, and don’t wash spilled potting mix into the drainage system.
2. Match plants to actual light and exposure
Count hours of direct sun, rather than judging how bright the space looks. Fruiting crops such as tomatoes and peppers generally do best with around six hours or more. Leafy greens and many herbs tolerate less, though they may grow more slowly. In the Northern Hemisphere, a north-facing balcony might support leafy crops without giving a tomato enough sun to produce well. In the Southern Hemisphere, north-facing balconies are generally the sunniest.
Wind and heat matter as much as orientation. On a high balcony, wind can dry pots quickly and batter tall stems. A corner sheltered by a solid wall may behave differently from an exposed railing, while heat reflected off glass, brick, or pale paving can make the space hotter than a nearby garden. Watch the balcony for a few days, including a windy one if possible, before placing delicate plants.
- Six or more hours of direct sun: consider compact tomatoes, peppers, basil, thyme, or strawberries, if you can keep up with watering.
- About three to five hours: try lettuce, chard, parsley, cilantro, or mint in its own pot. Temperature and season will affect the results.
- Little direct sun: favor shade-tolerant foliage plants or a small trial of leafy greens over fruiting crops.
Use these as starting points, not promises. Seed packets and plant labels give more specific light and seasonal requirements. If summer sun reaches only one end of the balcony, save that spot for the plants that need it most.
3. Begin with a few manageable containers
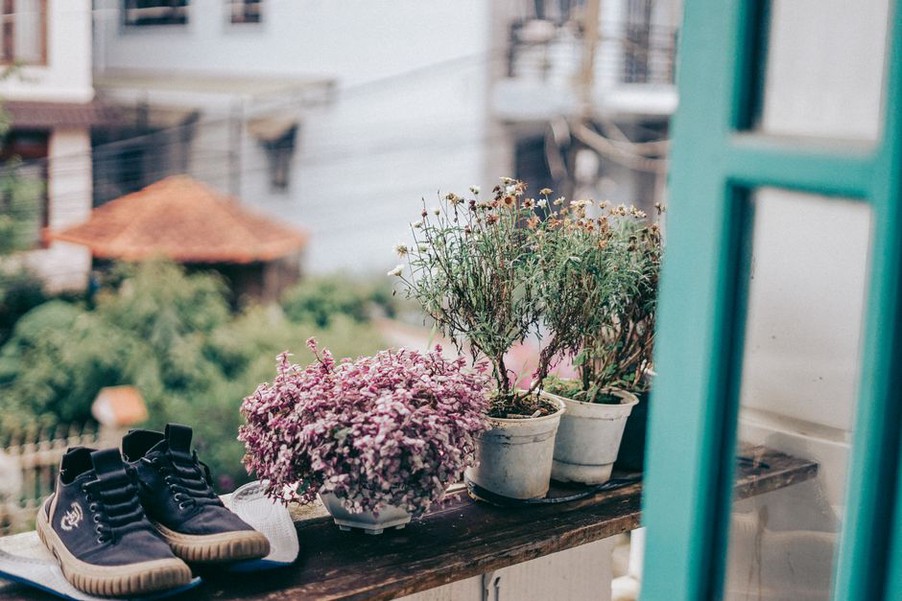
Three well-chosen pots are easier to learn from than fifteen that all need water on a hot afternoon. For a first edible garden, try one medium-to-large container for a compact fruiting plant, one for leafy greens, and one for herbs. Pick crops you actually cook with.
Every container needs drainage holes. Roots need moisture and air, and a sealed decorative pot can hold enough water to cause problems. If you like a pot without holes, set a smaller draining nursery pot inside it, then lift the inner pot out to water and drain. A layer of gravel isn’t a substitute for drainage holes.
Choose container size for the mature plant, not the seedling in front of you. Lettuce and small herbs can grow in relatively shallow pots with consistent watering. Tomatoes need considerably more root space, so choose a compact variety and check its recommended container size. Bigger pots usually dry out more slowly, but they’re heavier when wet. Lightweight planters are easier to handle, though they may need protection from tipping.
Use bagged potting mix made for containers rather than garden soil, which can compact in a pot. Potting mix is designed to drain while holding some moisture, and a general-purpose mix suits many beginner plants. Check the bag before adding fertilizer: some mixes already contain slow-release nutrients. For edible crops, choose products labeled for food-growing containers and follow the directions.
4. Buy plants or seeds at the right time
Nursery seedlings give beginners a head start with slow-growing warm-season crops such as tomatoes and peppers. Look for sturdy plants without widespread yellowing or spotting on the leaves, and check beneath the foliage for insects. If you have a choice, pass over plants with roots circling densely through the bottom of the pot.
Seeds cost less for crops such as lettuce and radishes and let you sow a little at a time. Follow the packet’s instructions for depth, spacing, and temperature. An entire packet in one pot will make a crowded patch; thin seedlings so those left have room to grow. Wait to put tender warm-season plants outside if nights are still cold. The local last-frost period is a guide, but the actual weather matters more than the date.
You don’t need a vertical wall of plants just because the balcony is small. Vertical setups can free floor space, but they call for secure mounting, safe weight distribution, and careful watering. A few floor-standing pots make it easier to learn the space without complicating access or maintenance.
5. Set up for watering you can sustain
Container plants depend on you for water; their roots can’t reach beyond the pot. Put a finger an inch or two into the mix. If it feels dry there, water slowly until some runs out the bottom, then empty the saucer once dripping stops. If it’s still damp, check again later instead of watering by habit.
Small pots, fabric grow bags, heat, and wind can mean more frequent checks. Cool or rainy weather may reduce the need, though an overhanging roof can keep rain off the pots. And don’t assume every drooping plant is thirsty: waterlogged roots can cause wilting too. Feel the mix first.
A narrow-spouted watering can gives you control in a tight space. Keep it handy so watering doesn’t mean moving furniture or carrying a heavy bucket through your home. Self-watering containers can stretch the time between checks, but their reservoirs still need attention. If you travel, ask someone to check the plants or consider drought-tolerant ornamentals instead of thirsty crops.
6. Plant for healthy growth, not maximum density
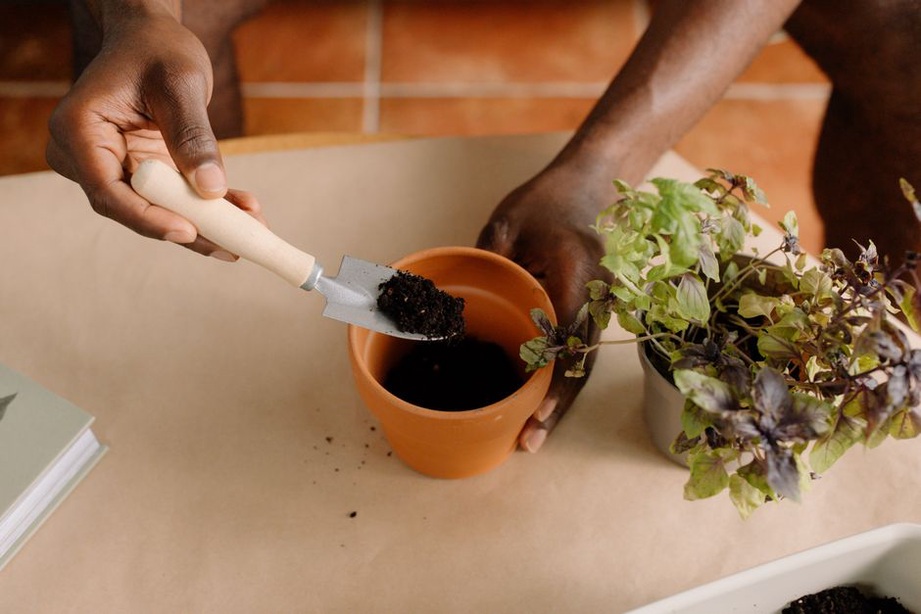
Fill pots with potting mix, leaving space below the rim for water to soak in rather than spill over. To transplant, gently remove the seedling, loosen tightly packed roots if needed, and set it at the depth recommended for that plant. Firm the mix lightly and water. Don’t bury stems deeply unless the plant’s instructions say you can.
Follow the spacing on the label or seed packet. Crowded plants compete for water and nutrients, and their leaves dry more slowly after rain. If a crop will climb or grow tall, add its support while it’s small; pushing a stake into a mature pot can damage roots. Secure supports so they can’t fall or blow over the railing.
Put tall plants where they won’t shade the others unnecessarily. Keep foliage off hot window glass, and leave room to inspect each pot from all sides. What looks sparse on planting day may fit well once everything grows.
7. Give the garden a short weekly check
You may need to water daily in hot weather, but most other jobs fit into a brief weekly check. Turn pots if plants lean strongly toward the light, remove dead leaves, and look for pests on stems and beneath leaves. Deal with small problems before they spread. Remove visibly infested leaves when practical, and identify an insect before treating it; not every visitor is harmful.
Over time, nutrients in a container can be used up or washed out. If growth slows and leaves turn pale despite suitable light and watering, check whether it’s time to feed the crop. Follow the fertilizer label rather than adding extra for faster growth. Too much can damage roots, and fertilizer won’t make up for poor light.
Pick edible leaves regularly, leaving enough growth for the plant to recover. Take modest amounts from healthy herbs rather than stripping a stem bare. Note which pot dries fastest, which spot gets the best light, and when a crop outgrows its container. A few notes on your phone will help with the next planting.
A first-week balcony garden checklist
- Confirm building rules, safe placement, and where drainage water will go.
- Record direct-sun hours and identify the windiest, hottest spots.
- Choose two or three plants suited to those conditions and the current season.
- Get stable containers with drainage holes, suitable potting mix, and a watering can.
- Plant at the recommended depth and spacing; add supports early if needed.
- Check soil moisture daily at first, then adjust as you learn how quickly each pot dries.
For a modest first attempt, put parsley in its own draining pot and sow a few lettuce seeds in a second container, if the balcony gets gentle light and the weather suits both plants. Label the sowing date and check the mix just below the surface each morning for the first week. You’ll soon know which pot dries faster and whether that spot gets enough light—useful things to learn before adding more planters.