
Vegetable peelings dumped in a bin can turn into a soggy mess. Mix them with dry leaves or torn cardboard, let air reach the mixture and keep it lightly damp; those basics matter more than the type of bin you buy.
Choose a method that fits your space
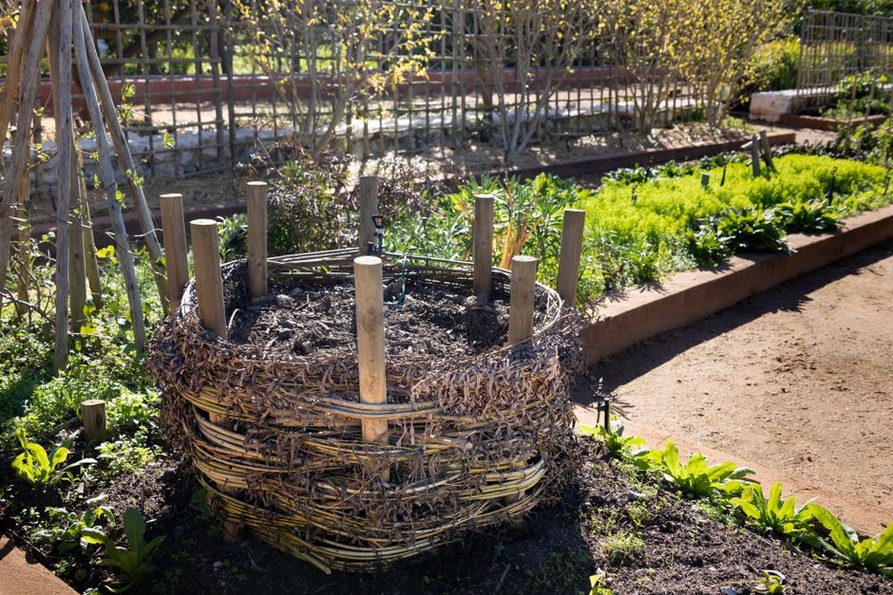
In a yard, an open pile or enclosed bin can take kitchen scraps along with leaves and garden trimmings. An open pile is cheap and easy to turn, though exposed food may attract animals. An enclosed bin looks tidier and can help deter pests; check whether its bottom, lid and openings will keep out local wildlife. Whichever you choose, find level, well-drained ground with enough space to use a fork or shovel.
A worm bin suits a small household with little or no outdoor space if you have a place where temperatures stay suitable for the worms. Worms need bedding, such as damp shredded paper, and have different feeding limits from an outdoor pile. A countertop pail only holds scraps; it usually won't finish composting them. If outdoor composting is prohibited or impractical, municipal food-scrap collection may be simpler. Check local rules before putting a pile in the yard or a bin on a balcony.
Pick a manageable starting size
Start with one bin or a modest pile, not a whole corner of the yard. A larger pile can hold warmth and break down material faster, but you need enough material to build it and time to tend it. Keep the bin close enough to the kitchen that you'll use it, but away from paths and structures that could be affected by damp material. Store dry leaves or shredded cardboard nearby so you can cover each new batch of scraps.
Know what goes in
Compost organisms need nitrogen-rich materials, known as greens, and carbon-rich materials, called browns. Greens are often moist and break down quickly. Browns soak up some moisture and leave room for air. The names describe how the materials behave, not their color: used coffee grounds are a green.
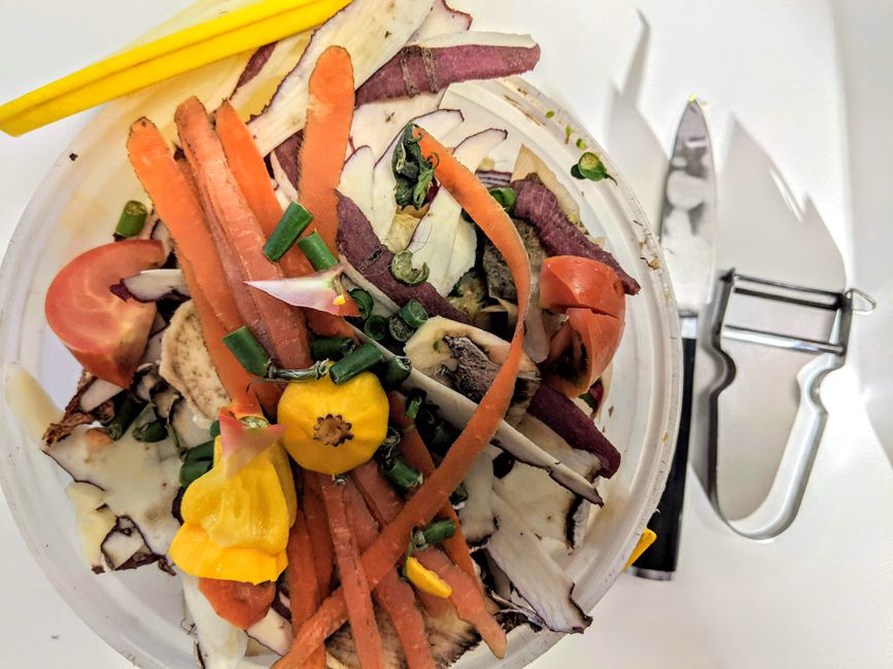
- Useful greens: fruit and vegetable scraps, used coffee grounds, tea leaves without plastic bags, fresh grass clippings and soft plant trimmings.
- Useful browns: dry leaves, shredded plain cardboard, torn uncoated paper, straw and small amounts of untreated wood shavings.
- Keep out of a basic home pile: meat, fish, bones, dairy, oils, greasy food and pet waste. They can smell, attract pests or pose health risks.
Skip plants with persistent disease problems, weeds carrying mature seeds and scraps from recently treated plants if the pesticide guidance advises against composting. Leave out produce stickers and glossy or plastic-coated packaging. Even packaging labeled compostable may need the higher temperatures of an industrial facility.
For each handful of wet kitchen scraps, try roughly two or three loose handfuls of browns. It's a starting point, not a formula. Dry leaves are bulky; shredded paper can pack down. Watch the pile rather than measuring every addition. If it turns slimy or smells sour, mix in more coarse browns.
Build the pile and maintain it
Begin with a loose layer of twigs, dry leaves or other coarse browns to help prevent compaction. Add greens in thin layers or small batches, covering food scraps with browns each time. Burying scraps toward the center puts them farther from flies and other animals. When practical, cut up large stems, whole fruit and thick cardboard so they break down faster. There's no need to pulverize them.
- Check moisture: a few inches below the surface, the material should feel like a wrung-out sponge: damp, not dripping. Water a dry pile. If it's soaked, mix in dry browns and shield it from heavy rain.
- Check airflow: if you want faster compost, turn or stir a typical yard pile every week or two, moving compacted material toward the center. You can turn it less often if it doesn't smell and you're in no hurry.
- Keep feeding it thoughtfully: spread out fresh scraps instead of dumping a dense bucketful in one spot, then cover them. When the bin is full, start another batch or stop adding material while the first matures.
Microbial activity may warm the center of a pile, particularly when there's enough fresh material. Composting doesn't require noticeable heat, though, and a small or slowly fed bin may never feel warm. Cold weather slows the process too. Don't count on a home pile getting hot enough to kill weed seeds or plant pathogens.
Diagnose problems by what you notice
Rotten or ammonia-like smell: the pile may be too wet, compacted or heavy on greens. Turn it and mix in dry leaves or torn cardboard. An ammonia smell can point specifically to too much nitrogen-rich material.
Little visible change: check the moisture first. If the pile feels like dry leaves all the way through, dampen it as you turn it. Large woody pieces and cold weather also slow things down; neither necessarily signals a problem.
Fruit flies or animals: cover fresh food with several inches of browns, secure the lid and remove any food that shouldn't be there. If animals keep visiting, inspect the bin's openings and check local guidance on excluding wildlife. A thin scattering of leaves won't hide a large amount of exposed scraps.
Recognize finished compost and use it safely
Finished compost is dark and crumbly, smells earthy and no longer looks much like the material you added. How long that takes depends on the season, pile size, ingredients and turning frequency. An intact eggshell or woody stem doesn't mean the whole batch has failed; sift it out and put it back in the active pile. If the compost still smells sour, feels hot in the center or contains lots of recognizable food scraps, leave it to mature longer.
Spread finished compost thinly over garden soil or mix a modest amount into a planting bed. It improves soil structure and adds nutrients, but it isn't a complete substitute for soil in pots. For containers, blend mature compost with a suitable potting mix instead of filling the pot with compost alone. Unsure whether a batch is ready? Use it around established ornamental plants rather than against seedlings or edible leaves.
Once the first bin is full, stop adding scraps and let that batch finish while you start a second container. Note the date of the last addition on the lid or in a garden notebook. Later, you'll know which bin still has fresh scraps and which has had time to mature.