
Keep the turntable away from the desk edge. A sleeve caught on a cable can knock a record against the equipment, and a crowded surface makes it difficult to check credits or photograph inserts without shifting everything twice. You need room to handle the material safely, not a particular desk or a wall of shelves.
For someone documenting Finnish thrash releases, the same workspace may have to accommodate listening, reading tiny credits, comparing pressings, scanning flyers, and writing up the evidence. You don't need a permanent station for each job. You do need somewhere to set down a CD booklet that isn't under a coffee mug, and a place for a ticket stub that isn't beneath the keyboard.
Choose a place for the work you actually do
Think about what happens during a typical session. If you mostly write discography notes from digital files and published sources, a comfortable computer setup matters more than an equipment rack. Physical releases need space: you should be able to open a gatefold or spread out a booklet without bending it. Digitizing your own tapes or photographing memorabilia calls for room for cables, lighting, and items waiting to be processed.
A quiet room helps with close listening, but a bedroom corner can do the job if the desk doesn't block a door or leave records stacked beside a heater. A shared dining table is workable if materials can be put away safely between sessions. Measure both the surface and the space around your chair. You should be able to get up and reach storage without brushing an open sleeve.
Check the conditions around that spot. Direct sun can fade paper and heat equipment; damp corners and exterior walls may be poor choices for long-term storage. Keep records, tapes, flyers, and electronics clear of radiators, drinks, and condensation. If the outlet is in the wrong place, move the furniture rather than run a power cable across a walkway.
Give the desk distinct working zones
Leave the middle of the desk free for the task at hand. Set the screen and keyboard where you can use them without twisting, and keep frequently used tools within reach. Physical items need their own clean surface. On a tight desk, a portable mat on a side table can mark out space for opening sleeves and sorting loose paper.
A simple three-zone layout
- Reference zone: a clear surface for booklets, sleeves, flyers, and handwritten notes. Keep pens, clips, and a ruler nearby, but don't put adhesive notes on original paper.
- Digital zone: the computer, keyboard, scanner or camera transfer point, and current source list. Place the screen where you can compare an object with your notes without constantly turning around.
- Listening zone: headphones or speakers and any playback equipment. Leave access to controls and room for devices to ventilate.
These can be stages of a session rather than fixed sections of a room. On a narrow table, inspect a sleeve, return it to its protective cover, and clear the surface before setting up the scanner. It's safer than typing beside an open booklet balanced against the turntable.
Set up the chair, screen, and light
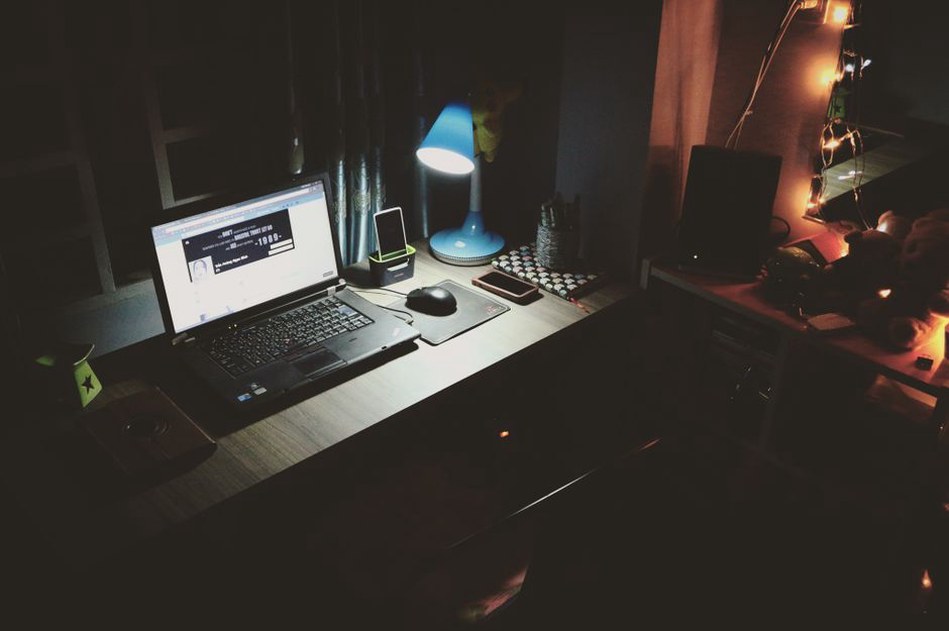
Comfort matters when you're checking small print. Leaning forward to read liner notes or looking down at a laptop for hours makes details easier to miss. Adjust the chair so your feet rest on the floor or a stable footrest. Set the keyboard at a height that lets your shoulders relax and your wrists stay roughly straight. Move the monitor until you can read it without leaning in; its top is generally around eye level or slightly below, though your posture and vision matter more than a precise measurement.
With a laptop, an external keyboard and mouse let you raise the screen without raising your hands along with it. You may only need a sturdy stand and an adjustable chair, not new furniture throughout the room. Change position now and then during long transcription sessions.
Use general room light and an adjustable task lamp if you can. Aim the lamp at fine print without throwing your hand's shadow across the page. For photographs, diffuse, even light reduces glare on glossy sleeves and plastic cases. Check a test shot at full size before working through a batch: can you read the text? When you're finished, keep strong light off stored materials.
Make storage follow the evidence
Keep items awaiting work separate from those you've documented. A tray for the current session, a labeled pending area, and shelves for finished materials are easier to manage than a growing pile. Store records upright rather than at a steep lean, and support paper ephemera so it doesn't curl or get crushed. Use clean protective enclosures suited to the material when needed; never tape anything directly to an original sleeve or flyer.
A label should tell you where an item belongs, not settle a question about its history. A folder marked “unverified live flyers” keeps an uncertain date or venue from slipping into a list of confirmed shows. Give duplicates their own place. Do the same for borrowed items, and record the owner's details privately so a loaned booklet doesn't accidentally become part of your permanent collection.
Apply the same distinctions to digital files. Use consistent names that identify the item and the image—a front cover, credit page, or ticket back, for example. Keep original captures apart from cropped working copies, and keep a backup somewhere other than the device holding your only copy. For a scene archive, a source note beside each claim can be more useful than an intricate folder system. Record whether a release detail came from the physical copy, a label announcement, or a contemporary review.
Plan for listening without disturbing the work
Headphones make close listening possible in shared housing without treating the room. Keep the volume comfortable and take breaks; turning it up won't resolve a difficult passage as well as checking another source. If you use speakers, put them on a stable surface away from the desk edge, where they won't vibrate the turntable or rattle loose paper.
Place playback equipment so you can insert discs and tapes without reaching over fragile items. Clean your hands before handling them, hold discs by the edges, and put everything back in its case after listening. In a release entry, separate what you hear from what the packaging says. You can't establish a personnel credit or recording location by listening alone.
Keep cables clear of chair wheels and footpaths, with enough slack to move a device for cleaning without pulling on its connectors. There's no need to hide every wire permanently; the setup should remain easy to service. Don't overload outlets, follow the ratings and instructions for power strips, and label lookalike adapters before taking the setup apart.
Build a repeatable session routine
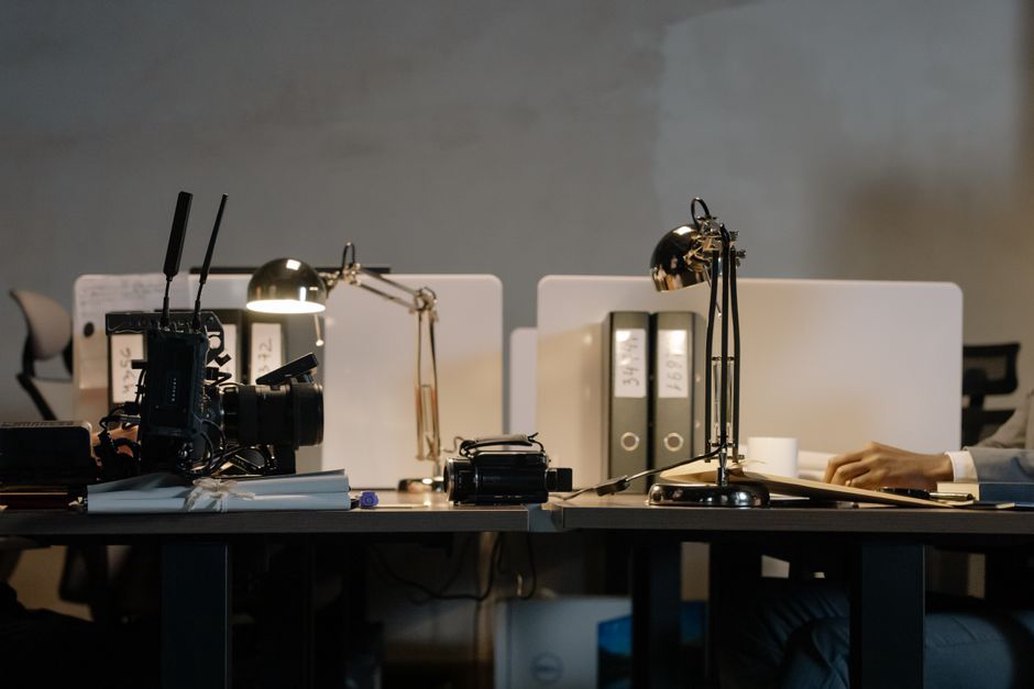
Bring out one project and the materials it needs. Start with a question you can check—for instance, whether one pressing credits the same drummer as another. Photograph or scan the relevant page, note which copy you examined, and put it away before opening the next one.
Concert and festival material needs especially careful notes. A flyer shows that an event was advertised; it doesn't prove the band played. Keep that uncertainty visible so a planned appearance doesn't become a confirmed performance in later writing. When comparing independent releases, record catalog numbers and physical differences precisely, but don't treat every variation as a separate release without supporting evidence.
Before you stop, save your notes, check the names of new files, and move unresolved items to the pending area. Put records and paper away before wiping the desk. Next time you need to verify that drummer credit, the booklet should be back in its sleeve and the question should still be in your notes.