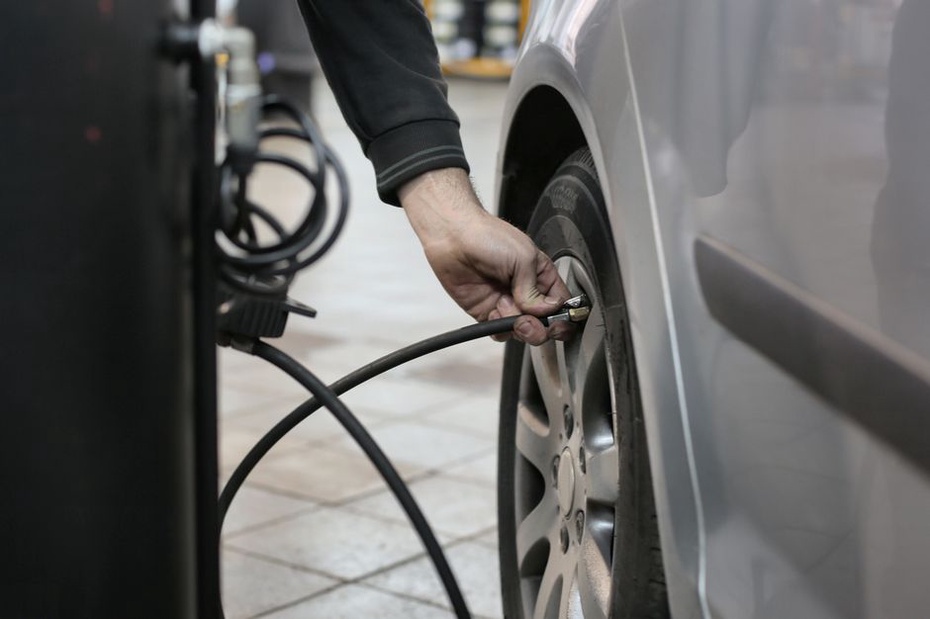
A tire can feel firm under your thumb and still be too soft for the ride. Check it with a gauge before setting off, especially if the bicycle has sat for several days. Use the range printed on the tire sidewall, respect any marked rim limit, and choose a pressure within those limits that suits your load and riding conditions. A pump with a gauge takes the guesswork out of it.
You do not need a workshop inspection after every trip. A quick check before riding, a few habits afterward, and a closer look now and then will catch many small problems. Put tires, brakes, wheels, and steering ahead of a squeak or a dusty frame.
A two-minute check before every ride
Start with stopping and steering. Squeeze each brake lever firmly. It should engage before it reaches the handlebar, and the brake should resist the wheel when you push the bicycle forward. If a lever suddenly travels farther than usual, feels spongy, or fails to hold the wheel, do not ride until you know why. After any brake adjustment, a push test alone is not enough: check stopping carefully at low speed somewhere safe.
Look at both tires as you check their pressure. A cut exposing threads, a bulge, or an embedded sharp object needs attention. Small pieces of glass can lodge in the tread without causing an immediate flat; remove them carefully, deflating or removing the tire if necessary. If a tire keeps losing pressure, check the tube, valve, tire, and rim instead of treating each refill as routine.
Lift each end of the bicycle slightly and spin the wheel. It should turn freely, without a pronounced wobble or persistent scraping. Check that each wheel is securely held by its axle nuts, quick release, or thru-axle. Follow the maker’s instructions for that fastening system: a quick-release lever must be closed correctly, not simply spun tight like a wing nut. Finally, turn the handlebar left and right. It should move smoothly, with no looseness or cables pulling tight.
- Tires: Check pressure, cuts, bulges, and visible debris.
- Brakes: Squeeze both levers and confirm each brake holds its wheel.
- Wheels: Check that they are secure, and listen for rubbing as they spin.
- Contact points: Make sure the saddle and handlebar have not shifted.
- Lights: If you may be riding after dark, check the front and rear lights before leaving.
For an overview of bicycle parts and common configurations, see Wikipedia’s bicycle reference. Your bicycle’s manual is the better source for its fasteners, pressure limits, and service instructions.
Keep tires dependable, not just inflated
Tires lose air naturally, though the rate depends on tire volume, pressure, tube material, and valve condition. Narrow, high-pressure tires often need checking more frequently than wider, lower-pressure ones. Instead of following a fixed weekly rule, notice how much pressure your tires lose between rides. Check often until you know their pattern, and check again after the bicycle has been stored for a while.
Treat the tire sidewall range as a boundary, not a direction to use the highest printed number. A suitable pressure depends on the tire and rim, your weight and luggage, and the surface you ride on. Too little air can make handling vague and increase the risk of rim damage or pinch flats with tubes. Too much can reduce comfort and traction on rough ground. Never exceed the lowest applicable limit set by the tire or rim maker. Tubeless setups may also have rim and tire compatibility requirements.
Inspect tread and sidewalls when you clean the bicycle or top up a tire. Worn tread alone is not always the best reason to replace a road tire; exposed casing threads, deep cuts, sidewall cracking, and bulges are clearer warnings. If a tire goes flat, find the cause before fitting a new tube. A thorn left in the casing can puncture the replacement within minutes. Check the inside of a removed tire cautiously, using a cloth or looking closely where sharp debris may be present.
Make the chain an easy part of the routine
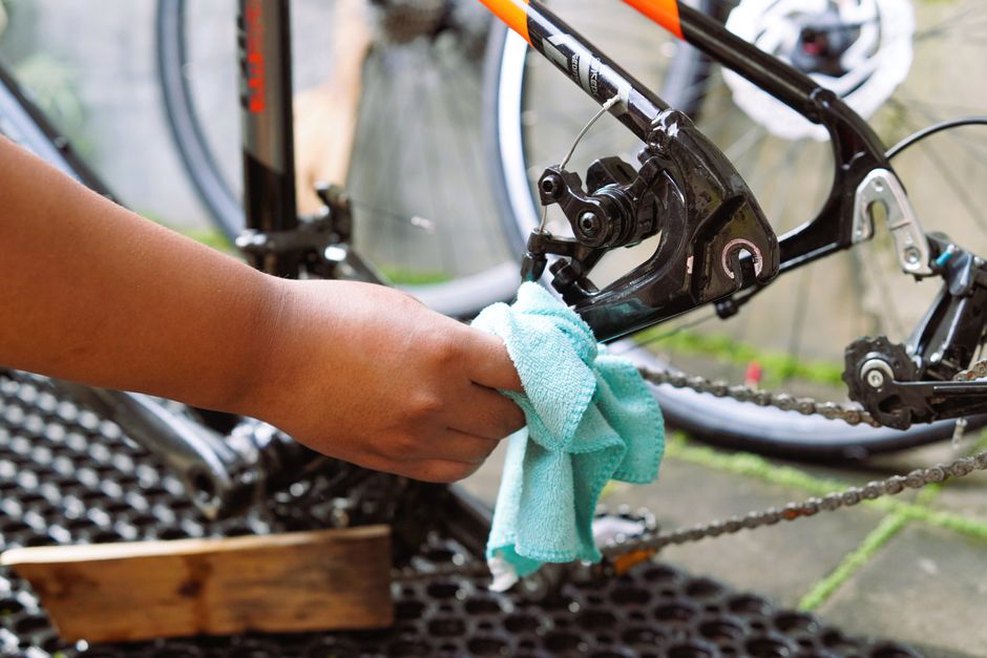
A chain needs lubricant, but oil added to a dirty chain leaves a gritty coating. Wipe the chain with a rag while turning the pedals backward, keeping your fingers clear of the chainring teeth. For heavier buildup, use a bicycle drivetrain cleaner as directed, away from brake pads and rotors. Let the chain dry before lubricating it.
Apply a small amount of bicycle chain lubricant to the rollers along the chain’s lower run. Turn the pedals to distribute it, then wipe the excess from the outside. Lubricant needs to reach the chain’s internal contact surfaces; a wet outer coating mostly attracts dirt. Choose a product suited to your riding conditions and follow its application and drying instructions. Wet-condition lubricants may resist rain better but collect more grime, while dry-condition ones may need renewing sooner after a wet ride.
Rain, grit, and winter road salt call for more attention than clean, dry streets. After a wet ride, wipe the chain, check it for contamination, and relubricate once dry if needed. Avoid pressure-washing bearings or aiming a strong jet at the hubs, bottom bracket, or headset. Water forced past their seals can turn a quick clean into a repair.
Know when cleaning will not solve the problem
If the chain skips under load, shifts poorly despite ordinary adjustment, or has stiff links you can see, inspect the drivetrain rather than adding more lubricant. Wear at the pins and rollers increases the chain’s effective length, which can speed wear on cassette sprockets and chainrings. A bicycle shop can measure chain wear with a suitable gauge and advise when to replace it for your drivetrain. Catching it in time may spare you from replacing several parts together.
Pay attention to brakes before they become noisy
Identify whether your bicycle has rim or disc brakes before making adjustments. With rim brakes, check that the pads still have braking material and meet the rim’s braking surface, not the tire. Wipe dirt from that surface with a clean cloth. Get advice before riding if a pad is unevenly worn or the rim’s braking surface looks badly damaged.
With disc brakes, look through the caliper to check pad thickness if the design allows it, and follow the manufacturer’s replacement guidance. Oil on a rotor or pad can seriously reduce braking power, so keep spray lubricants away from either type of brake. Investigate new grinding, unfamiliar pulsing, or reduced stopping power promptly. A persistent squeal can have several causes; lubricant is not a fix for it.
Cable-operated brakes may need cable or housing service as those parts wear or corrode. Hydraulic problems may call for a bleed or other specialist work. If a lever pulls to the bar, you find a hydraulic fluid leak or damaged cable, or a brake will not hold the wheel, stop using the bicycle until it is repaired. Use the correct tools and procedure for brake work, or take it to a qualified mechanic.
Watch for looseness and changes in how the bicycle feels
A familiar bicycle often tells you when something has changed. A knock at the steering when you hold the front brake and gently rock the bicycle may point to the headset. If the rim rocks sideways while the axle stays in place, the hub may be loose. A new creak while pedaling might come from a pedal, crank, saddle, or seatpost. Tightening random bolts is unlikely to find the cause.
Check accessible fasteners periodically, particularly after transporting the bicycle or changing a component. Where the manufacturer gives a torque value, use a torque wrench, especially with lightweight or carbon-fiber parts. Too much force can damage a component; too little can let it shift. Do not adjust a bearing or brake merely because you have a tool that fits. Identify the part and the proper procedure first.
Pay attention to shifting, too. If the chain hesitates between gears, look first for a visibly bent derailleur, damaged cable, or debris around the mechanism. A new cable and housing may settle and need a minor tension adjustment, but repeated adjustments will not fix a bent derailleur hanger or worn parts. Stop pedaling forcefully if the chain looks likely to shift into the spokes or off the chainring.
Clean what matters and protect the bicycle between rides
Cleaning gives you a chance to spot trouble. Wipe the frame and fork with a soft cloth and mild cleaner, checking for cracks, dents, or unexpected rubbing as you go. Look especially closely after a fall or hard impact. Have a competent professional assess a damaged frame or fork; without an inspection, a mark in the paint can be hard to distinguish from structural damage.
Remove mud packed around the brakes or drivetrain before it dries hard. Wash off salt residue promptly with low-pressure water, then dry the bicycle thoroughly and attend to the chain. Keep cleaning chemicals off braking surfaces. A clean frame can still have loose wheels or worn pads.
Store the bicycle somewhere dry if you can. If it has to stay outside, use a breathable cover in a secure spot, knowing that rain and condensation can still reach metal parts. Do not seal a wet bicycle in a bag or under an impermeable cover for days. Keep the tires inflated during longer storage and check them before riding again; a flat tire bearing the bicycle’s weight can be damaged. Remove battery-powered lights when practical so you can charge them and reduce the chance of losing them.
Match the schedule to actual riding
Mileage is only part of the picture. Frequent short trips through rain and grit can be harder on a bicycle than longer rides in dry weather. This rhythm keeps the work manageable without making every ride a service session:
- Before each ride: Check tires, brakes, wheel security, steering, and any lights needed for the trip.
- After a wet or dirty ride: Remove heavy grime, dry the bicycle, and inspect the chain.
- Every few weeks of regular use: Look closely at tire condition, brake-pad wear, shifting, chain cleanliness, and loose or damaged parts.
- Periodically or when behavior changes: Have chain wear, wheel trueness, bearings, cables, and brake condition checked. Adjust the interval to your mileage and conditions.
A small kit can keep a minor problem from ending a ride: take a compatible spare tube or tubeless repair supplies, tire levers, a pump that fits your valve, and tools suited to the bicycle’s fasteners. Learn to use them before you need them away from home. On longer outings, weigh those essentials against food and weather layers; our guide to packing light for a day trip covers that broader balance.
If you notice a fault but cannot identify it, tell a mechanic what happens: which gear or brake is involved, at what speed, and whether it occurs only under load. That is more useful than guessing which part has failed. After a repair, check the affected part while the bicycle is stationary. If the work involved a brake, test stopping gently in a safe, traffic-free area before riding at normal speed.
Keep a floor pump where you take the bicycle out. Check both tires against the pressure you have chosen within their permitted limits, then put the pump back in the same spot. It makes the first check of the next ride easier to remember.