A dryer lint screen can look clean even when fine lint coats the mesh. If water no longer passes through easily, wash the screen with warm water and a little dish soap. Let it dry completely before putting it back. That helps air move through the dryer, but it does not replace cleaning the exhaust vent, where lint can build up out of sight.
The same principle applies to other appliances: check the route air, water, heat, or detergent needs to take. A blockage can make a machine work harder or keep it from doing its job. Most of the checks below need little equipment. Your model's manual still comes first, since filters, cleaning cycles, and safe access points vary.
Start with a safe routine
Turn an appliance off and unplug it before removing accessible panels or cleaning near electrical parts. For a hardwired appliance, follow the manual and use the appropriate circuit breaker when needed. Never remove a cover the manufacturer has not designated for owner maintenance. Let hot surfaces cool, keep water away from plugs and controls, and do not spray cleaner into vents.
Keep the owner's manual handy, even as a saved digital copy. It will tell you which filters are washable, how to reset filter alerts, and which cleaners can harm finishes or seals. If an appliance trips a breaker, leaks near electrical components, smells of burning, or has a damaged cord, stop using it and arrange qualified service. Don't keep testing it.
Refrigerator: clear airflow and protect the door seal
Keep the condenser area clear
A refrigerator has to release heat. Depending on the model, its condenser coils may be behind a lower front grille, at the rear, or inside a less accessible enclosure. If the manual allows owner cleaning, unplug the unit and remove dust and pet hair with a soft brush and vacuum attachment. Do not bend tubing or force a nozzle into a tight space. For enclosed coils, clean only the accessible ventilation openings specified by the manufacturer.
Make sure bags, boxes, and other stored items do not block the clearance the appliance needs. Inside, leave room around the air outlets rather than packing food against them. A covered vent can leave one shelf warm while another gets unusually cold.
Clean and inspect the gasket
Wipe the flexible door gasket with mild soapy water, getting into the folds, then dry it. Crumbs and sticky residue can keep it from sealing evenly. Look for tears, loose sections, or a door that needs a push to close. Before blaming the gasket, check for a drawer or tall container holding the door ajar. If the door still fails to seal after cleaning, it may need adjustment or a replacement gasket.
If cooling seems inconsistent, check it with an appliance thermometer. The refrigerator compartment should generally be at or below 40°F (4°C), and the freezer at 0°F (−18°C). Give temperatures time to stabilize after an adjustment instead of repeatedly turning the dial. Replace a water filter according to the model's instructions; the calendar alone cannot tell you how much water has passed through it.

Dishwasher: remove debris before it reaches the pump
Most dishwashers have a filter assembly beneath the lower rack. When the machine is cool and off, remove the filter as the manual directs, rinse away trapped food, and use a soft brush for stubborn residue. Reinstall it fully before the next cycle. Do not reach blindly into the filter well; broken glass can hide in pooled water.
Check the spray-arm openings for food particles, and make sure each arm can turn without hitting a tall utensil or pan. Wipe the door edges and gasket, where grease collects beyond the spray's reach. If draining is slow, start with the accessible filter and, if there is one, the sink-side drain connection. Persistent standing water, repeated error codes, or a leak beneath the unit needs further diagnosis, not another cleaning tablet.
Use the detergent type and amount recommended for your machine and water conditions. Adding more can leave residue rather than get dishes cleaner. If the manufacturer specifies a cleaning cycle, run it as directed after removing debris; a cleaning product cannot clear a blocked filter.
Laundry appliances: manage water, lint, and load size
Washer checks
If the manufacturer permits it, leave the washer door or lid ajar after a load so the interior can dry. On a front-loader, wipe moisture and lint from the door gasket folds and check for small trapped objects. Clean the detergent dispenser as instructed. Run the designated cleaning cycle at the recommended interval with an approved cleaner, rather than mixing household chemicals.
Some washers have an owner-accessible drain-pump filter. Check the manual before opening it: water may spill, so put down a shallow tray and towels first. If there is no designated access, do not dismantle the machine to look for a filter. Inspect visible inlet and drain hoses for cracks, bulges, kinks, damp connections, or rubbing against a sharp edge. Replace a failing hose promptly and have uncertain connections checked. Leave enough room in the drum for clothes to move; a tightly packed load can wash poorly and put extra strain on the machine.
Dryer checks
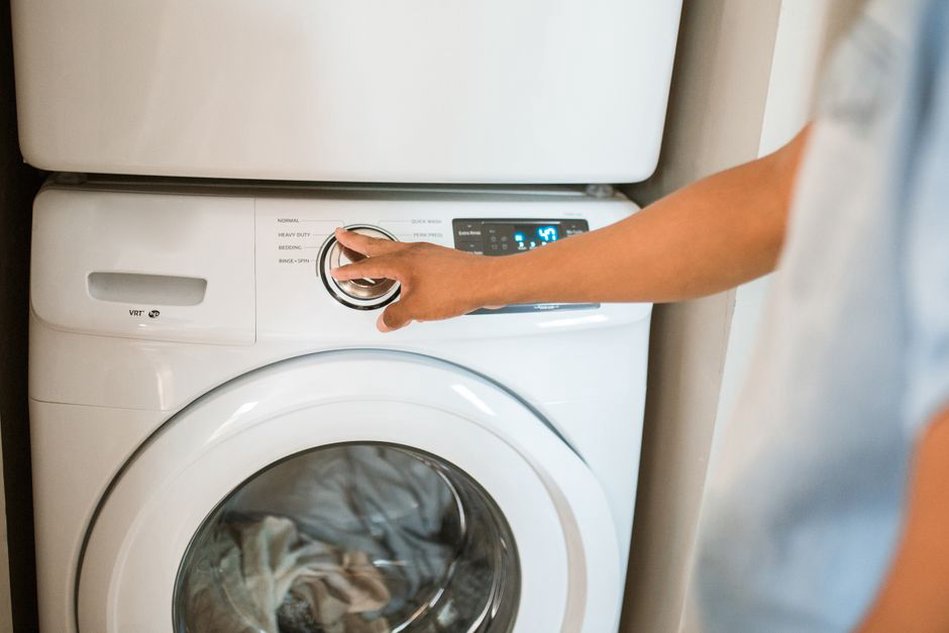
Clear the lint screen before or after every load, as your dryer's instructions specify. Periodically check around its housing, cleaning only the parts the manual says you can reach. Keep lint and stored items away from the dryer. A crushed exhaust duct or blocked exterior vent restricts airflow; the outside vent flap should open while the dryer runs and close when it stops.
If loads take longer to dry, laundry feels unusually hot, or the dryer shuts down before clothes are dry, airflow may be restricted. Stop using a dryer with a suspected vent blockage until the duct has been inspected and cleaned. Runs with bends or sections hidden in walls may need professional cleaning. A loose indoor lint trap is no substitute for a properly installed exhaust system. If you smell gas near a gas dryer, leave the area and contact the gas utility or emergency service from a safe location.
Kitchen appliances: clean the parts that transfer heat
Grease on an oven floor or burner can smoke during cooking. Once surfaces are cool, wipe spills using a product and method approved for the finish. Do not cover oven vents or line the oven floor with foil unless the manual explicitly allows it; misplaced foil can disrupt airflow or damage the surface. On a gas cooktop, make sure removable burner caps are clean, dry, and seated correctly before use. If flames are uneven after cleaning, a cap may be misaligned. Do not poke objects into gas ports or attempt gas-line repairs.
Microwave splatters can keep the door from closing cleanly. Wipe the cavity, door edge, and seal area with a soft cloth. Do not scrape the seal or run the microwave with a damaged door. For a range hood, wash a reusable grease filter as instructed and let it dry before reinstalling it. Charcoal filters in recirculating hoods are typically replaced rather than washed, but check the manual to confirm which type you have.
Small checks with a useful schedule
How often these jobs need doing depends on use, pets, dust, and the manufacturer's guidance. A simple schedule helps you spot changes without giving every appliance the same monthly treatment:
- Each use: Clear the dryer lint screen; check that dishwasher spray arms can turn and appliance doors close fully.
- Every few weeks: Rinse the dishwasher filter if it collects debris, wipe moisture from the washer gasket, and clean fresh spills from cooking surfaces.
- Every few months: Inspect accessible hoses, exterior dryer vent airflow, refrigerator gaskets, and range-hood filters.
- As the manual directs: Clean accessible refrigerator coils, run washer cleaning cycles, and service water filters or other components with model-specific intervals.
When you install a replacement filter, note the date on its packaging or in your phone. Check that the exterior dryer vent flap opens freely during a normal cycle, too. If a later load suddenly takes longer to dry, you'll have something specific to compare.